Friday, July 21, 2017

Cherish !!! and Goodbye!!


Hello dear friends !!
Welcome to the CottageCutz blog. 
As you all know , this place is a haven for dies and I am amazed to see the beautiful collection here.
The wedding theme die cuts are here and they are just perfect to make projects for this grand occasion.
Check them out here.
Before I show you today's card, I want to say a few words of Goodbye !!!
Yes!! you got it right !!! I will be saying goodbye to my CottageCutz friends and I am feeling so sad that I wish I could turn the clock around. But , I do not want to do things with a half heart. So time is a big constraint for me now and so I want to say goodbye as I am really hard pressed for time. 
It has been a wonderful journey of two long years and lot of wonderful moments. I will miss Joanne and Mary and all the other team members. I loved being here and would continue to cherish the memories made here.

Here is my card for today.


I hope you all will keep me in your heart forever.

That's all for today!!! Goodbye!!!

Thursday, July 20, 2017

Summer is for Weddings!

Hello Scrapping Cottage Fans!

Pam is on the blog sharing with you today! Summer is traditionally about weddings!  So with that in mind Cottage Cutz had just released 20 wedding dies that are just beautiful! Today I am using two of the new dies for a sweet little wedding card that is sure to please!

Design Steps:
1.  Use a vanilla A2 card base and cut a slightly smaller piece of gold and glue to front of card base.  Then emboss a piece of vanilla card stock that is 4 x 5 1/4 and glue to gold

 2.  Cut out a gold Mr & Mrs using the new Cottage Cutz Mr. & Mrs with Hearts.  And also cut out a gold dove swing using the new Cottage Cutz Pair of Doves die
 3.  Using the new Cottage Cutz Pair of Doves die cut out the doves with vanilla card stock and ink around the edges
4.  To bring more dimension to the doves use a stylus and go around the belly to make it rounded and popped a little
 5.  Glue the Mr & Mrs to the card front
6.  Glue the dove swing to the bottom loop of the Mr. and Mrs. and added a heart for the attachment to the loop.  Then using dimensional dots to pop up the doves and hearts


Cottage Cutz Products


I love all of the new release wedding dies and I think you will too! The new dies are in the online store for a limited time at 25% off CLICK HERE to go shopping!

Blessings

Pam

Tuesday, July 18, 2017

Sweet ice cream bars

Hi,  Janja here!

On these hot days, ice cream is a pleasant refreshment. That's why two sweet ice cream bars are on today's card.


Supplies:
- CottageCutz dies: Sweet Phrase, Tropical Frame, Circle Set, Easter Bunny & Chicks (small bows)
- Peachy Keen Stamps: Ornament Face Set (1 5/8")
- white card base: 5.5 x 5.5" (14 x 14 cm), folded
- patterned paper: 5 x 5" (12,7 x 12,7 cm)
- white and colored cardstock
- Distress ink: Twisted Citron, Vintage Photo
- Distress oxide: Peeled Paint, Vintage Photo
- scallop circle punch, corner punch
- ruler and cutting knife

Cut a half-circle into a colored cardstock with the fifth die from the middle of the set. Finish the ice cream bar with cutting knife and ruler.


Stamp and emboss cute winter faces on cutouts.


The lower corners and a part of the circumference are treated with punches. Attach sticks and add small bows.


Cut out a sweet phrase twice. Paste them together, so that they partially overlap.


Cut out two frames, which are later cut with scissors.


Draw lines on patterned paper 0.4" (1 cm) from the edge with a pencil, and attach all the frame elements on them.


Completed card.


Have a lovely day!


Monday, July 17, 2017

Wedding Diorama

Hi, Lois here with some exciting news.  Two  new die collections have just been released, and you can see them on the website.  The first collection is a series of 
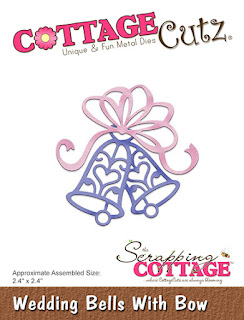
wedding dies -- both elegant and whimsical.  The second collection contains 
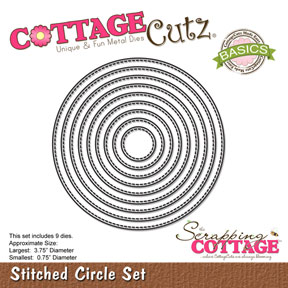
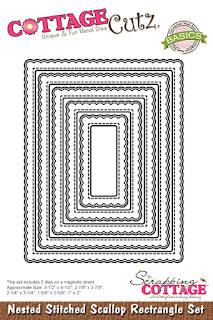
nested shapes -- squares, circles, rectangles and ovals -- in both stitched and eyelet designs.  My card today was made using dies from both collections.  It is a diorama card.


To start my card I cut two panels of pink cardstock 4 1/4" x 9 1/2" and one panel of cream cardstock 4 1/4" x 7 1/2", as well as two pieces of wedding patterned paper  4" x 5 1/4" and one piece 4 1/4" x 5 1/2".


I scored the pink cardstock at 2" in from each side and the cream cardstock 1" in from each side.  Then I centered the patterned paper.  The 4 1/4" x 5 1/2" piece was adhered to the cream piece; the other two identical pieces were adhered to the pink pieces.


Fold on the score lines as follows:  one piece of pink and the one piece of cream were folded with the tabs going toward the back of the card; the other piece of pink has the tabs folded toward the front of the card.

Using the largest stitched scalloped rectangle die, I cut an opening in the front panel.  Using the second largest double-stitched rectangle die, I cut an opening in the center, cream panel.   I did not use these cut-out panels on my card, so I can save them for other projects where the stitching will then show. 


I then cut the bride and groom pieces from white, black and silver cardstock/paper.


I colored the skin and hair with markers . . .


. . . and constructed them on the back panel.


As I usually make up my designs as I go along, at this point I decided that I would probably need to embellish my card a bit; so I cut some additional die-cuts.


I had tried to cut the wedding bells from the same silver glittery paper I used to cut the background for the bridal gown, but the cuts were too intricate for that paper.  So I just cut it from silver paper and brushed some clear Wink of Stella over them to give them the same sparkly look.

Then I constructed my card.  I applied glue to the outsides of the tabs on the center panel and glued it to the tabs on the back panel.  I added the wedding bells and bow to the center panel.


Then I applied glue to the insides of the tabs on the front panel and completed the card.  I added the "celebrate" to the bottom of the front panel.


Here is a close-up looking into the card.


This card will lie flat for mailing; however, a custom-sized envelope will be necessary as the card measures 4 1/4" x 7 1/2" when it lies flat.

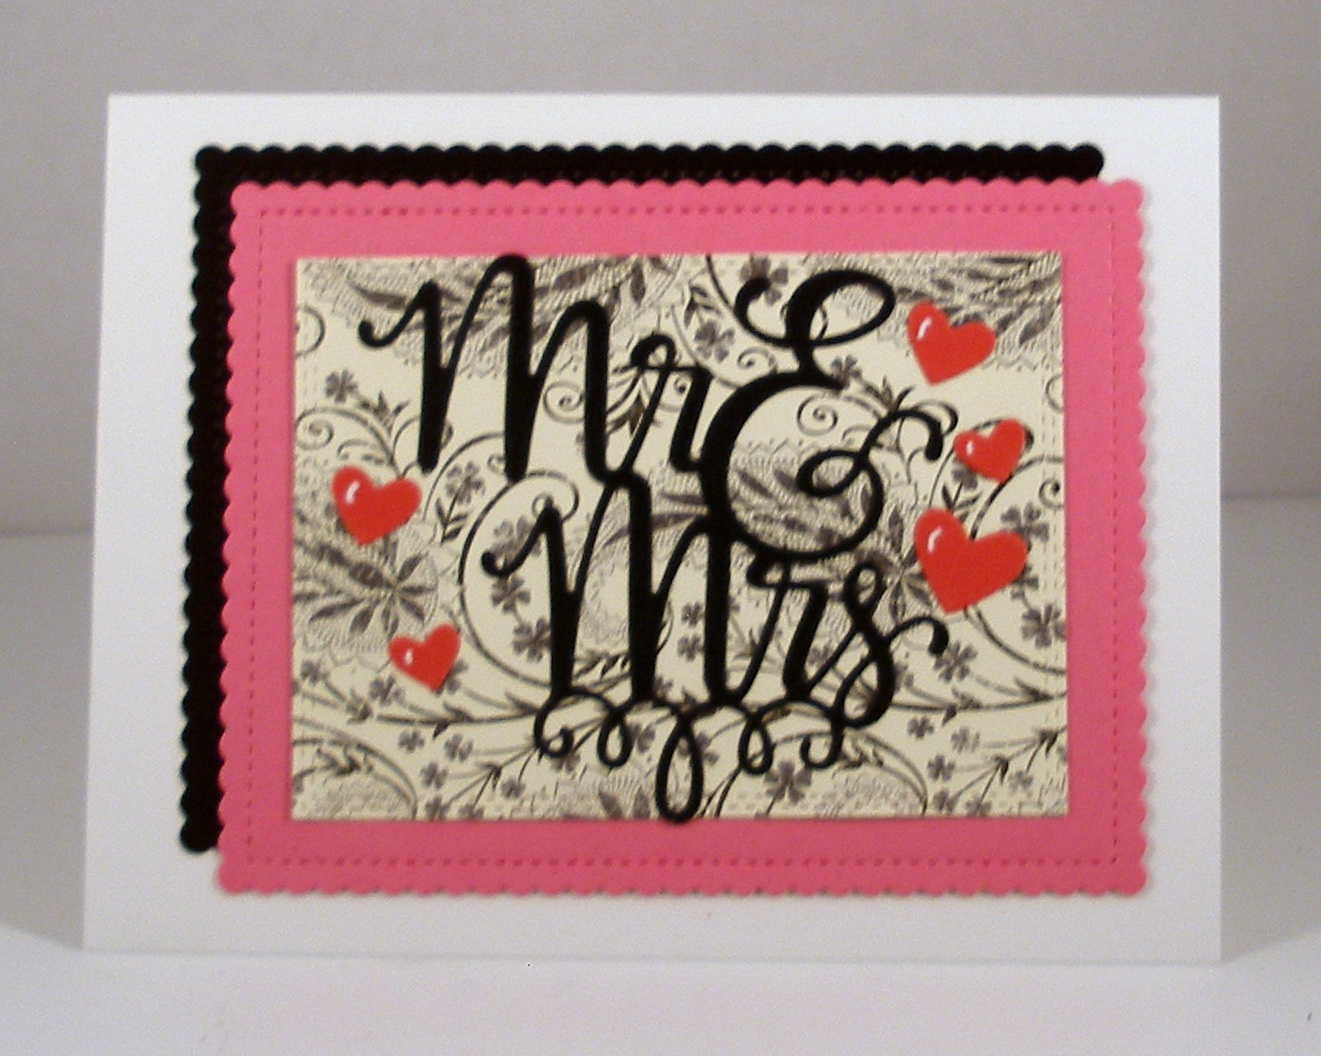
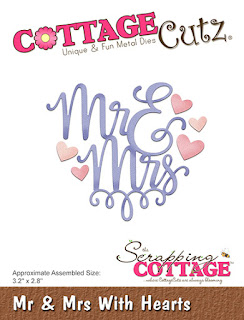
I decided  to make another, simple card using the cut-out portions from my diorama.  I cut another panel with the Nested Stitched Scallop Rectangle die to match the cut-out portion from the front of my first card.  After carefully removing the patterned paper from the pink panel, I adhered it to the black panel and mounted the smaller rectangle from the center panel on top.  Then I die-cut the Mr and Mrs sentiment and glued it to the front and added some red hearts (also from the Mr and Mrs die).  I adhered this to a white card base and added some light accents with a white gel pen.   Voila!  Another card!


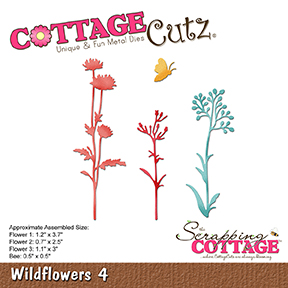
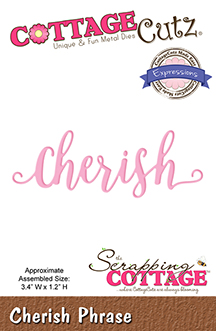
CottageCutz dies used on this card are:

http://www.scrappingcottage.com/cottagecutzelegantbrideandgroom.aspx


http://www.scrappingcottage.com/cottagecutzweddingbellswithbow.aspx


http://www.scrappingcottage.com/cottagecutznestedstitchedscalloprectangleset.aspx


http://www.scrappingcottage.com/cottagecutzdouble-stitchedrectanglesetbasics.aspx

http://www.scrappingcottage.com/cottagecutzexpressionscelebrate.aspx


http://www.scrappingcottage.com/cottagecutzmrandmrswithhearts.aspx