Showing posts with label baby card. Show all posts

Sunday, April 30, 2017

Twist Pop-Up Card for Baby


Hi everyone! It's Janet from SugarShine Designs and I'm bringing you a card that will really wow your recipients! It's called the Twist Pop-Up card and it's an eye catcher.


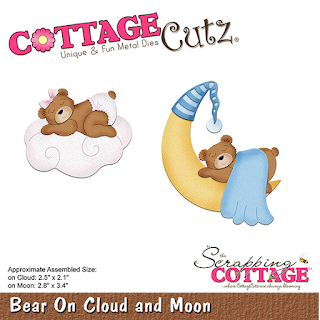
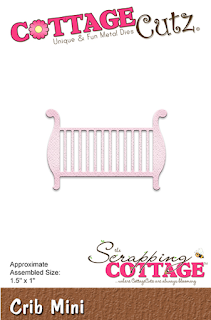
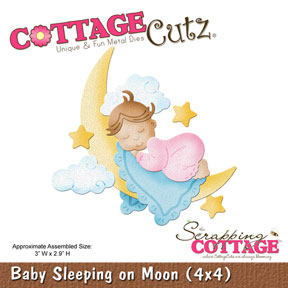
Today's project continues to feature some of the new dies that were released in the GIGANTIC baby release that happened earlier this month. It has been so much fun working with the new release and many of these wonderful dies!

My card features six designs highlighting all things baby. I've geared it for a girl but of course you can always change the colors to be gender neutral or boyish.

This card has a surprise when you open it. Describing it isn't adequate so please go to the link below for the video showing the effect and how I decorated this fun card base.


I've posted another video that shows in detail how to make the card base itself. I'm confident you will be able to make this card after you watch it but I will answer any questions you leave for me there.


Thanks for joining me on this beautiful Sunday morning. Enjoy the rest of the weekend!

PHOTOS AND LINKS TO PRODUCTS USED IN THE COTTAGECUTZ DIES STORE:

http://www.scrappingcottage.com/cottagecutzbearoncloudandmoon.aspx


Thursday, April 27, 2017

Koala Baby!

Good Morning Scrapping Cottage Friends!!

It is Pam sharing with you today.  Spring always brings new life!  It is so much fun to see all of the new baby birds all around our neighborhood.  Plus all of the other new born animals such as the fawn, fox and squirrels!  That is what inspired me in doing this sweet card. I am using one of Cottage Cutz new baby die sets called Baby Koala with Blanket.


Here are my design steps to make this adorable little keepsake!
 1. Use the large Double-Stitched Rectangle Die to cut out the blue designer paper and then cut a slightly larger piece of piece of pink card stock to mat it. Next cut out pink designer paper using the second largest circle from the Cross-Stitched Circle set.  Using white card stock cut out the doily using Tea Time Doily.
 2.  Glue down the pink mat in the center then adhere the blue designer paper on top
 3. Slightly offset the doily and glue down add the pink designer paper circle to the top as shown
 4.  Cut out all the pieces of the Baby Koala with Blanket.  Use dark gray, light gray, black, white, yellow and blue card stock for the pieces.
 5. Using gray, blue and pink ink lightly sponge around the edge of the Koala bear pieces, the blanket and bottle
 6.  Use the second to the smallest Cross-Stitched Circle die and cut a white piece of card stock then stamp on the sentiment
 7.  Assemble all of the pieces by using a narrow tip fast drying glue.  Use small black pearls for the Koala's eyes
 8. Pop up the Koala Bear and the bottle onto the pink designer paper.  Pop up the sentiment on the upper right hand corner add a star button and bow

Cottage Cutz Products Used:


Thank you for stopping by today and I hope you decide to make a new mom very happy with one of these darling new release baby dies!

Blessings

Pam

Sunday, March 27, 2016

The card for the Newborn baby

Hi, Yuliya here!)
Today I want to share with you little tutorial how to make a sweet  Newborn baby card. I use Baby Sleeping on Moon

Let's start! 
For the card, I prepared a template in the form of a cloud. I use the chipboard. The size of the card can be adjusted by your preferences. My card have a size 6,4" * 4,4"
 Cut out
 Once you have created a template in the shape of an cloud you will need to trace around it 2 times on your choice of patterned paper.
 The base cards of  cardstock. 
I cut it out 3 times (1x from cardstock and 2x from patterned paper).
Note! The details of the selected paper is smaller than the parts from cardstock
 Glue the details (blue and pink) to the cardstock
 Let it dry
Great! Our card is ready for the next step
Prepare some die-cuts
I use the glue ZIG memory system
How about  flowers?
All parts were glued to each other and decorated. Add some volume with the help of glue tape
So cute, isn't it?)
Details. You can also add some little enamel dots.
I hope you enjoyed this card


Other Supplies: cardstock,  scissors, Sizzix machine,  pencil, glue ZIG memory system and glue UHU creativ, flowers, enamel dots