Showing posts with label Janja. Show all posts

Tuesday, June 30, 2020

Hugs from all of us

Hi. It's Janja here with you.

This is my last post here on the Scrapping Cottage blog. It was an honour for me to work for such a great company. Thank you very much for your encouragement and for the trust you have placed in me. I loved to work with all these incredibly cute dies.

Let's take a look at my card.


- CottageCutz dies: Mama Raccoon & Baby, Mushroom Fairy Garden, Hide & Seek Bunny
- card blank: 5.3 x 5.3" (13,5 x 13,5 cm), folded
- different colors of cardstock
- different colors of ink pads
- glue, double-sided adhesive tape, self-adhesive foam pads

As usual, first die-cut all the pieces for main image out from different colors of cardstock. Use different ink pads for more depth.


Trim white cardstock and shade the blue background.


Cut out the grass twice and add a green strip.
It seemed to me that it would look better if I added a frame. Cut it out of white cardstock. 


Attach the green strip to the back of the frame and everything to the background we prepared earlier.


Stamp or print the sentiment. Cut out two banners and attach them to the stick.


Complete the card.


I would like to thank you all for all your comments and support over all these years.
Janja


Tuesday, June 23, 2020

Happy Retirement

Hi! It's Janja here with you today.
All the dies from gardening release are great for making a wide variety of cards for men. My card is for retirement.


- CottageCutz dies: Gardening Tools, Lawn mower, Gardening Hat & Gloves, Shelf w/ Plants
- blank card: 4 1/4 "x 5 1/2" (10,8 x 14 cm), folded
- patterned paper: 3 1/2 "x 4 3/4" (9 x 12 cm)
- different colors of cardstock
- embossing folder – lumber
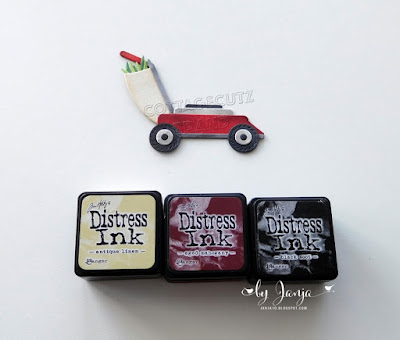
- different colors of ink pads
- glue, double-sided adhesive tape, self-adhesive foam pads

Cut out garden tools, a lawn mower, a shelf and a garden hat from colored cardstock. Shade all the pieces with colored ink pads.
I shortened the garden hat with scissors.


Trim the selected patterned paper to the size of the card base. Also cut out two rectangles. Stamp sentiment on a white strip.


For greater effect, I embossed wood-patterned paper with a 3D folder and shaded the edges with ink.


Paste the background to the front of the card with double-sided adhesive tape. Attach the other elements with self-adhesive pads and glue.


Thank you for stopping by.
Janja


Tuesday, June 16, 2020

Beach Huts

Hi Janja here with you. Welcome to the blog today.
In the beginning, I intended to prepare a greeting card on the topic of gardening.
However, since summer is almost here, I changed my mind and turned the garden shed into a beach hut.


- CottageCutz dies: Potting Shed, Puppy in Garden Cart (parasol), Fairytale Castle (flags), Camping Trailer (flags garland), Seagull (sand dunes)
- blank card: 5 7/8" x 5 7/8" (15 x 15 cm)
- white cardstock: 5 1/2" x 5 1/2" (14 x 14 cm)
- patterned papers
- different colors of brush markers
- different colors of ink pads
- glue, double-sided adhesive tape, self-adhesive foam pads

Cut the beach huts out of striped papers. Also cut out three parasols.


Use white cardstock for the background. Shade it with different colors of ink pads. For a sandy beach, use a stamp or simply add dots with a marker.


Now attach all the elements to the prepared background with glue and self-adhesive foam pads as shown. Attach the parasols to small sand dunes.


Thank you for stopping by.
Janja


Tuesday, June 09, 2020

Herb Garden

Hi Janja here. Welcome to the blog today.
I don’t know about you, but I adore fresh kitchen herbs myself. I combined some dies and made a card with herb garden.


- CottageCutz dies: Planter Box & Seeds, Flower Power Tomte, Gardening Cat (basket), Square Set, Cross-Stitched Square Set
- blank card: 5 5/16 x 5 5/16" (13,5 x 13,5 cm), folded
- patterned paper: 5 1/8 x 5 1/8" (13 x 13 cm)
- kraft cardstock: 5 1/8 x 5 1/8 " (13 x 13 cm)
- different colors of cardstock
- different colors of ink pads
- glue, double-sided adhesive tape, self-adhesive foam pads

First die-cut all the pieces for main image out from different colors of cardstock. Shade all cutouts with ink pads.


Later, I stamped the names of the kitchen herbs on the sign and added a birdhouse to the top.


Trim three squares. Using two square dies, cut out two frames. Glue both frames together. Paste a small square to the back of the frame.


Start assembling the card. 


Thank you for stopping by. 
Janja