Friday, March 08, 2013

What is Beauty?


Hi, Vladka here and today I have something special for you - one beautiful quote.


We don't look just with our eyes, but also with our emotions, heart and with our mood and character. A lot of people look, but don't see and I'm really happy that I know a lot of people who can see with his/her heart. It would be really boring if we all see the same, don't you think?

 
Love is perfect lens or even third eye which gives us the opportunity to see more and to find beauty all around us and in a every ordinary thing. And so, is this quote really true:

 
I found 
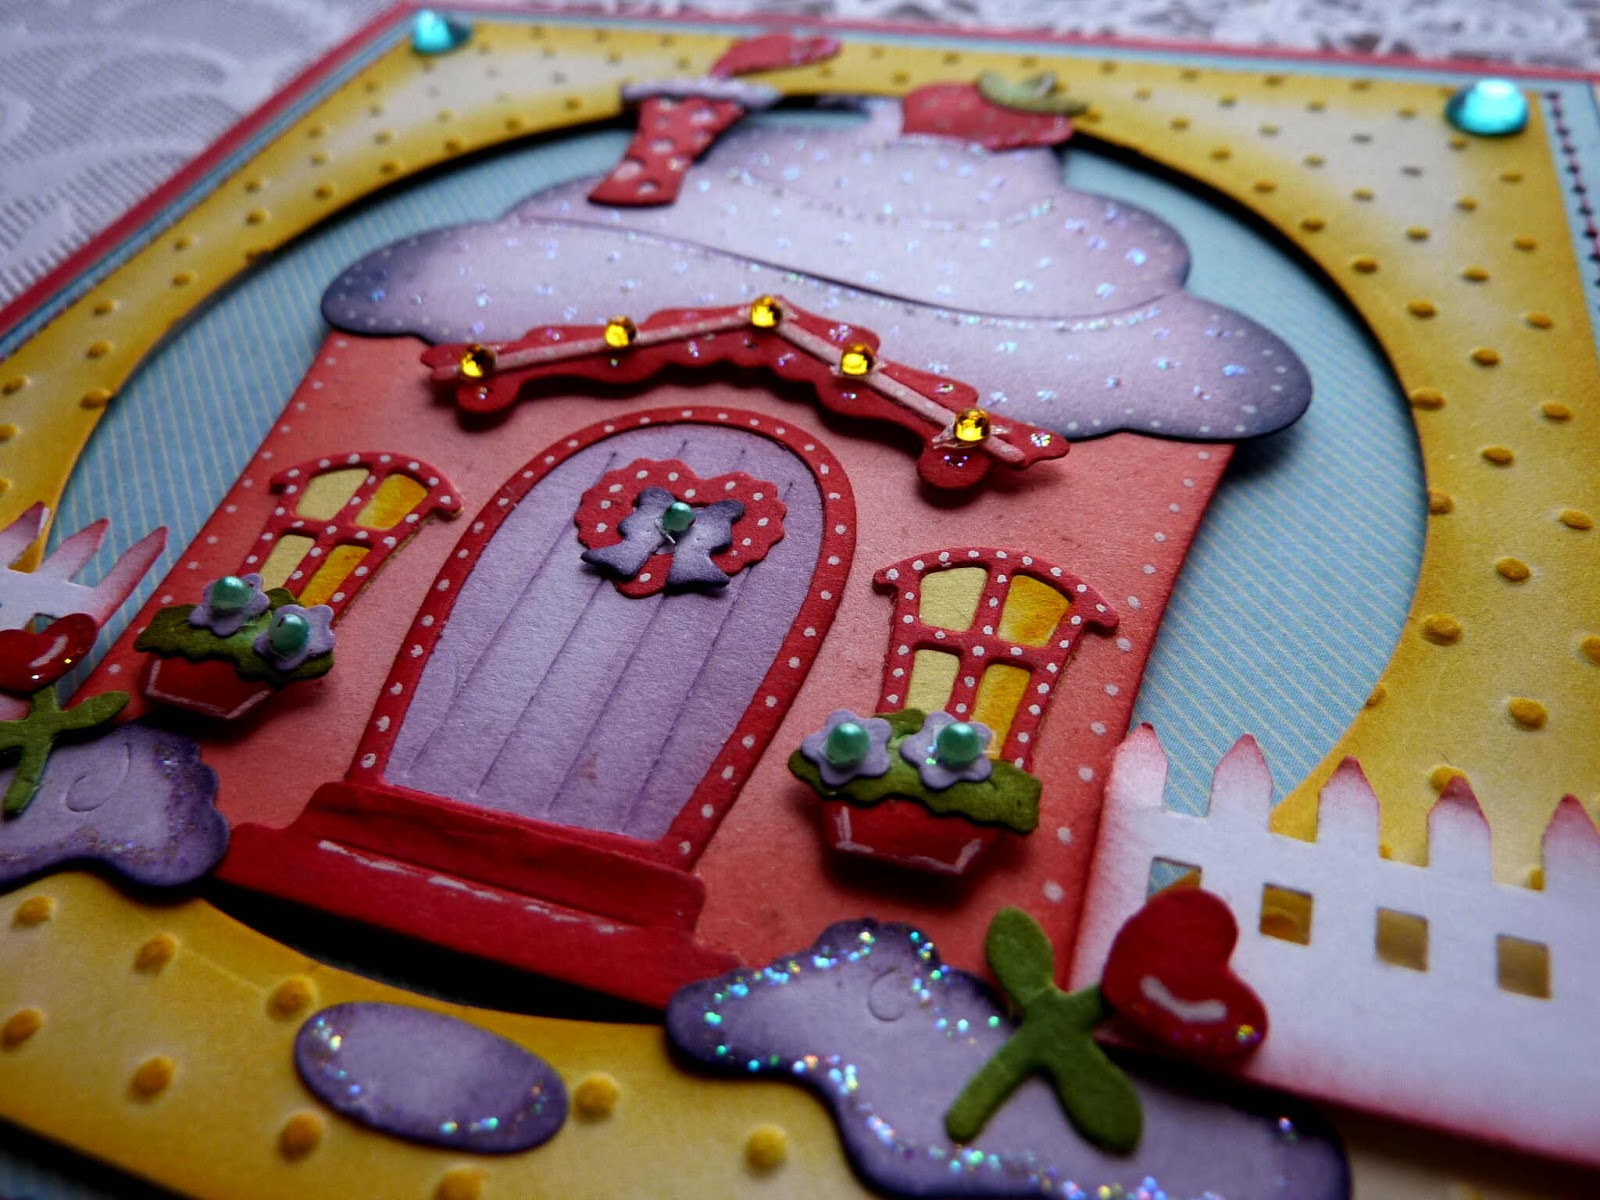
this quote on internet, designed it in Word and printed on kraft cardstock. And then I needed something to made my card really special and Scrapping Cotage die Tweet Love was perfect for that.

And don´t forget, today is International Women's Day! Enjoy it!


Thursday, March 07, 2013

Shabby Chic Sweetheart


Hello everyone I'm doing an extra post for today. I had this card made from last week and wanted to share it with you all. I designed it using CottageCutz Heart Wreath Rose, and the Tea Time Doily.

I love the look of shabby chic, and LOVE using the CottageCutz Heart Wreath Rose. I did add some pearls to the centers of the flowers. And the Doily is at the top and bottom behind the square layers.

The CottageCutz photo's are LINKED for easy finding!


Thank you for looking and have a lovely day!
Hugs to all,
Cheryl

Wednesday, March 06, 2013

Be Mine Heart Box


Hello everyone!

Simona here with the Heart Box showcasing 
CottageCutz Be Mine (4x6)
from the Sweet Little Thing release.


I wanted to share this project with you for Valentines Day, but
unfortunately I didn't finish the heart box yet.
But here it is now. It can be used also for other occasions, 
not only for Valentines day... :).


First I made a heart box out of red cardstock.
To embellish the top of the heart box I used 
To see how I made the flower click 


I cut the  CottageCutz Be Mine (4x6) once out of red glitter paper and
once out of white cardstock. I sponged the edges with 
Distress Ink - Barn Door.
CottageCutz Leafy Foliage (4x6) was cut out 4x in white cardstock.
The edges of the leaves were sponged with
 Distress Ink - Pumice Stone.
The greenery was cut out 3x with 
out of white cardstock and sponged with Distress Ink - Peeled Paint.


To embellish the side of the top Heart box 
I used some lace from my stash. 
For the sides of the bottom Heart box I cut 2 long strips 
out of white cardstock
and used Martha Stewart punch and some 
red ribbon also out of my stash.

I hope you feel inspired by this project.
Thank you for looking and taking the time to leave a comment.

Hugs,
Simona 

The dies used:


Tuesday, March 05, 2013

Shabby Chic Mini Album & Video's


Hello everyone, today I am Finally sharing the Front cover & a video of my entire album! I really enjoyed designing this album, and I'm super excited to share it with you all :)

You can click on photo to see close up :)

On the front cover I used the Beautiful  CottageCutz Dress Form, and Elegant Hat Box dies. I LOVE these dies, they are super fun and easy to use!!! I used Creative Inspiration Paints/black embossing powder to get the look here on the CottageCutz Vintage Dress Form, Hat Box, and Love Tag

Below are links to each die used-


 For the front cover I made a Envelope Pocket for tags to slide in and out. They are large, and big photo's will be able to fit on these. I left the tag blank so Joanne could name her album whatever she chooses. The lace is Vintage, the white trim is Wedding trim, and the little pink and green is from my stash. I used feathers,beads, wedding stems, buttons, flowers and lots of Really Reasonable ribbon for this page. 

Here is a video to see each page and all the details and such. I hope you enjoy!!!


Here is another Video on How I did the Hat Box, Vintage Dress Form, and Love Tag Using Creative Inspiration Paints/Embossing Powder!! LOVE this stuff!!! Please EXCUSE THE FIRE ALARM>>>>>LOL


Thank you for looking and have a lovely day!!
Hugs to all,
Cheryl


Monday, March 04, 2013

CottageCutz Parasol


mkjhkmml 


Hi everyone Cindy here with a SWEET CottageCutz Design. I used CottageCutz Parasol, Fan & Boot and CottageCutz Clutch Mini. I used them on my little mini pizza box!!~ They are colored with Pool Party Ink!!~


CC4x6-119-BIG 


Hugs Cindy xoxo

Sunday, March 03, 2013

CottageCutz - Sweet Cupcake Shop card

Hi Everyone! 
It's Olena here today to share with you a Sweet Cupcake Shop card! 
I made this card using the Super CUTE CottageCutz dies- Sweet Cupcake Shop dies (4x6) from NEW 2013 Sweet Little Things Collection.


I cut out all the pieces with different colors of cardstock and sponge them with inks.


Using Spellbinder Classic Circle die and Embossing Dots Folder, I created a yellow circle frame. 
 For base card I used red cardstock 5" x 5".


I added  all  pieces and  die cuts to card front as shown in picture above. I, also, added Fance punch cuts in right and left side of this house.  I think, it will be perfect add to this house.
I decorated card with blue plastic pearls, yellow rhinestones and Stickles. 
 For this card I used:


Saturday, March 02, 2013

Birdie in Blossoms


Hi there!

It's Kathy here with you and today I have a Birdie in Blossoms Card to show you using three CottageCutz Dies.


I used the bird from the Bluebird Die, the flowers and branch from the Blossom Branch Die, and the frame from the Oval Doily & Frame Die.

I used a piece of designer paper (Secret Garden - Graphic 45) with a pretty bird and flower image and enhanced it with the dies matching the colors. The bird from the Bluebird Die, was cut with white paper and colored with Aegean Blue Chalk Ink and Vintage Photo Distress Ink. The beak and feet were inked with Red Brick Chalk Ink. The Blossom Branch was cut with peach cardstock for the flowers and green for the branch.  The flowers were shaped with a mat and tool kit, inked with Red BrickChalk Ink, and dotted with Buttercup Liquid Pearls in the center. The branch was cut to piece around the lower corner of the image.  The frame from the Oval Doily & Frame was cut with Natural White Cardstock.

I added a bow made with Natural Jute String from Really Reasonable Ribbon and the Bow-Maker. I didn't add a sentiment to this, but a small, short sentiment would be cute on the bottom right or as a tag hanging from the bow.

Here are pictures of the dies I used on this.


I hope this gives you a little inspiration!

Friday, March 01, 2013

Girly Girl Gift Box


Hi Everyone! It's Lisa here and today I have a girly girly gift box to share with you. This box could be used to hold a treasure for a friend and then it would look lovely on a vanity, dressing table or shelf.
 I altered a small paper mache box that you can pick up at any local craft store. On the cover of the box I used CottageCutz Ornate Circle Frame, Corset and Mini Pumps
I used some chalk ink and distress ink with sponge applicators to shade my corset and shoes. The feathers are chipboard and were treated  with some mists, inks and distress stickles.


Tiny pearls were added to the corset for buttons and fibers behind the corset and shoes lend a vintage shabby feel.
Edge punching on a contrasting pattern paper add a finished look to the bottom edge of the box.  I also had an old paper bag with some vintage printing on it. I tore pieces of it off, inked the edges and attached it to the sides of the box.

I had a TON of fun with these dies. My mind is always spinning with ideas on how else I can use them!