Showing posts with label Spring Stamps. Show all posts

Saturday, March 16, 2019

Hatching Bunny (new die)

Hello Scrapping Cottage friends! Thanks for taking the time to stop and visit with us today. It's Mary Marsh here bringing you the Saturday edition of the Blog.

We have a new release of 36 Spring dies in the online store. There are a variety of designs so perfect for Easter or Spring card making. Take a look in the store you definitely won't be disappointed.

For my card today I am using the new Hatching Bunny die. He is just too cute peeking out of the cracked egg. I couldn't resist using him on an Easter card. So let's get started with some details on how I created my card. 

Step 1: Having a layout in mind at the card start is always a big boost for me. That way I can just choose the card colors and designer paper and I am good to go. I liked this week's sketch #740 on Splitcoaststampers because of the somewhat simplistic design. I thought the stacked diamond shapes would be perfect as a background for this little bunny.  
I looked through my designer papers to get one that had some soft Spring like colors to it. I settled on this one that I have had since 2012. It had all the colors that I wanted. 
Soft Blue card base: 4 1/4" x 5 1/2"
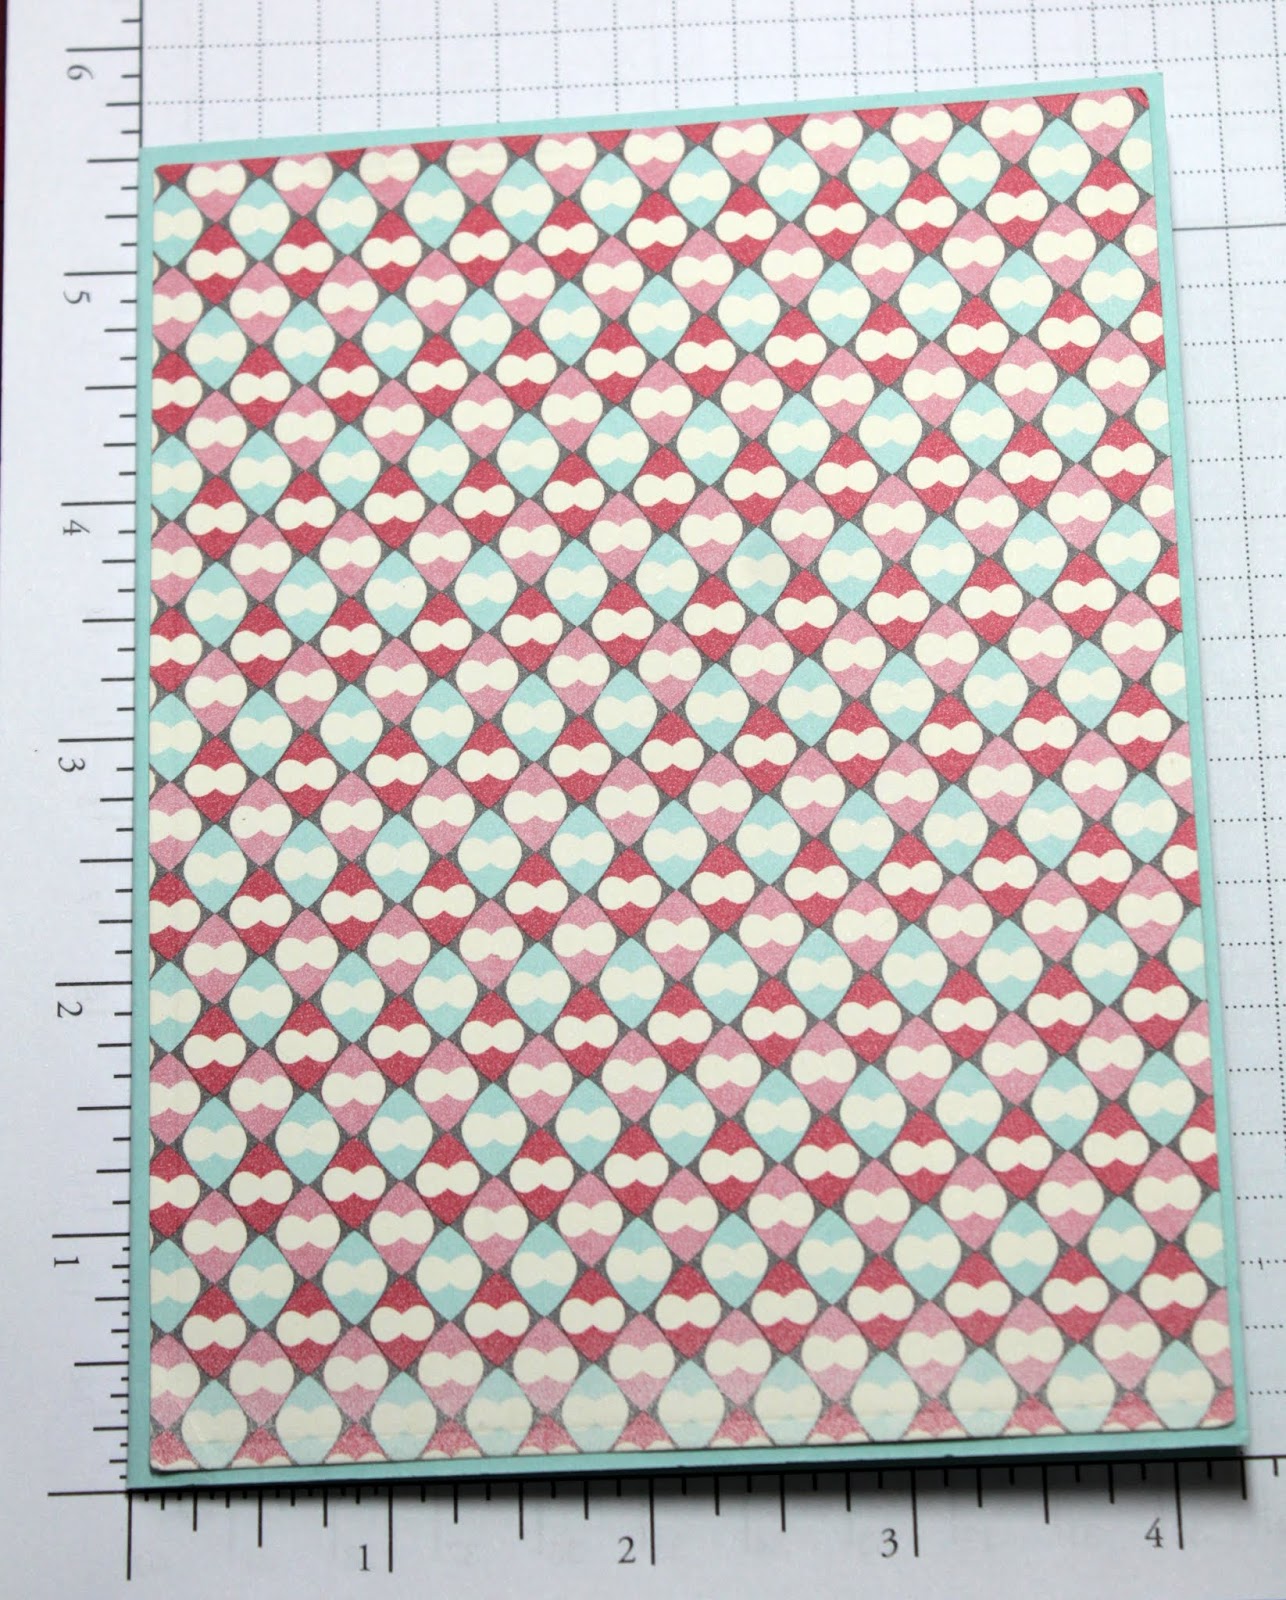
Designer Paper layer: 4 1/8" x 5 3/8"

For the diamond shapes I used the Stitched Square set (5th largest) die set and cut in Primrose cardstock. For the vanilla layers I used the Square Set (5th largest) die. I sponged background clouds on the top 2 diamonds with tumbled glass distress ink. On the bottom diamond I sponged mowed lawn distress ink. 
The Hatching Bunny and other elements from this die are all cut from cardstock. I used a cocoa shade for the bunny, a medium green for the grass, primrose for the tulip and a soft blue patterned paper for her little bow. 
I decided to stamp a sentiment on the egg as well as the top diamond shape. A "Easter Hello" phrase seemed right for this card. 


Now that all the elements are cut I am ready to start card assembly. 

Step 2: I secured the designer paper to the card base using double sided tape. 
The diamonds are secured with the same medium. 
Started layering my Bunny image from the grass up on the diamond shapes.
 I kept looking at my card and thought it just needs something else. So I decided to add a small sun image on the top panel and scattered some blue sequins around the card. And, that did it for me. Card is complete and so is my post for this week.

I hope I have given you some inspiration and an idea for a way to use this cute new die. Have a great week and I will see you next Saturday.

Dies I used to create card:


Friday, July 01, 2016

Bird Trio Die + Sketch


Hello Scrapping Cottage friends! Thanks for taking the time to stop and visit today. It's Mary Marsh here bringing you the Friday edition of the Blog.

Today for your viewing pleasure, I am featuring the bird trio die from the May "This & That" release. This die could be used for a variety of card types, and I made it as a card of encouragement for my BFF who is battling breast cancer.

So let's get started on some details on how I made this card.

Card Base: 4 1/4" x 5 1/2"
Patterned Paper Layer: 4 1/8" x 5 3/8"
Image Panel: 3 1/4" square (largest CottageCutz square die)
Angled panels: 1 1/4" wide & 1/2" wide (trimmed at ends to fit card)
Sentiment flag: 5/8" wide

I started this card by selecting my colors first. I found this rich looking patterned paper in my stash and that determined my card colors of raspberry, mustard and blue-green. I had this sketch saved and decided it would work well with my die cut.
I did some sponging of clouds for the background. Used a cloud template I have which makes it so easy to get perfect clouds every time. I used a grass stamp for a little green and the background was complete.
I die cut the bird trio in the blue-green cardstock and layered that over the background panel. Added a sun that is cut from the Spring Stamps die to complete the image panel.
 
 
 Stamped my sentiment on the flag panel to complete this card. Well, that's it for me for today. We are celebrating July 4th Independence Day here in the US this weekend. There will be lots of festivities and fireworks. So until next time.......inky hugs.
 
Oh and speaking of bird trios. We have a robin's nest underneath our deck. Today the little ones heard my hubby and I talking and put their heads up and mouths open. I pulled out our 6ft step ladder and took a quick photo while they were performing. Mama Bird wasn't around so I didn't get attacked (lol)!!!
 
http://www.scrappingcottage.com/cottagecutzbirdtrioelites.aspx
http://www.scrappingcottage.com/cottagecutzspringstamps.aspx
http://www.scrappingcottage.com/cottagecutzsquaresetbasics.aspx


Friday, June 24, 2016

Card with the Pocket - VIDEO


Hi, is Vladka and welcome to my new post where I will show you how to create this card with the Pocket, using CottageCutz dies.


Here is list of all supplies I used:
Cardstock: White Cardbase (4 1/4 x 6 inches) and additional piece of white cardstock and Kraft paper to cut out the pocket and both rectangles
CottageCutz Dies: Listed Below
Other: copic markers (YG95, G99, E37, E77), Tumbled Glass Distress ink, Paint brush, Scissors, Sizzix machine, water, glue

This card has many layers, but this makes it interesting, don't you think? It is really easy to make it. Check it out in the video:


I just can't stop to work with dies from This N That release. They are beautiful and really useful too.


Thank you for stopping by and for checking the video. 
And don't forget, third CottageCutz challenge is waiting for you. This time theme is POCKET. You can linked your project here. And please, use only Scrapping Cottage dies.