Showing posts with label Layered Cake & Stand. Show all posts

Friday, August 28, 2020

Toucan Birthday Party

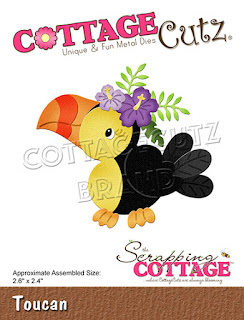
Happy Friday!  It's Jeanne today with a fun, bright birthday card featuring the toucan from the new Beach & Tropical release.  It seems every week I get a new favorite die.  This toucan is so adorable, I think it may be my new favorite!
I had this sentiment had thought it so perfect for a toucan birthday card.  The first thing I did was pick out a paper for the background.  I wanted it bright with yellow and orange since those colors are in the birds' beaks.  There were multiple options but I liked this one for its casual feel.  From there the colors were chosen and the rest was easy.
I cut the pieces from various colors of cardstock using two oranges (beaks, feet, flowers) and two yellows (bird, cake, flowers).  I cut the cake stand from silver and then used paper snips to cut off the base to make a cake plate.  I assembled the birds but did not attach the eyes or feet.  I wanted the eyes to be looking towards the cake and the feet on the branch, so these will need to be the added last.
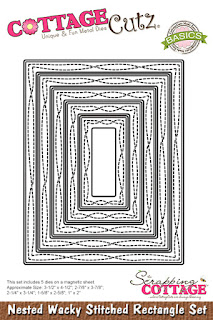
Since all of this will be adhered to an A2 card base, I cut a panel from my patterned paper 4 1/4 x 5 1/2 inches.  I used white cardstock to cut a rectangle using the largest of the Nested Wacky Stitched Rectangles.
I stamped the sentiment in the lower left corner of the white rectangle, centered it on the panel and added the branch and cake.  I  placed the birds on the card without gluing down to finalize placement of the branch.
I glued the body of the lower toucan first leaving the head unattached so I could slip in the upper toucan and adjust its placement.  When that was done I adhered the lower toucan's head using a fine tipped glue.  Then I added the eyes and feet.
The lower right of the card looked a bit bare so I added a few flowers.  Normally I like white space on cards but this one is so festive It seemed to need MORE!  So I added....
a few sequins for bling!  After all, what's a party without sparkle?

And now a little extra tip:
When cutting the beak, feet, body and flowers I had colors for parts that I did not use.  It took just a few minutes to assemble a few more beaks and flowers.  Now I have them ready to use on other cards.  Not exactly the same as this card, but definitely usable.  I store these in the die package so they are ready to go!

Dies:
http://www.scrappingcottage.com/cottagecutztoucan.aspx

http://www.scrappingcottage.com/cottagecutzlayeredcakeandstand3x3.aspx

http://www.scrappingcottage.com/cottagecutzgardenbear.aspx
http://www.scrappingcottage.com/cottagecutznestedwackystitchedrectangleset.aspx

Thanks for visiting today.  Be sure to stop by the online store where the new release is on sale for a limited time.

I hope you have a fun and creative weekend!


Friday, January 26, 2018

Celebration!!!

Good morning!  It's Jeanne today with a birthday card.  I don't know about you, but I can never have too many birthday cards on hand.  And if they are good for either male or female, young or old that's even better.  This card is great for anyone.
I found some patterned paper that reminded me of birthday candles and got my colors from that - Bermuda Bay, Calypso Coral, Daffodil Delight and Night of Navy.  I wanted some fun bright colors.  Then, I used the Layered Cake & Stand die and cut it out of all colors so I could see what combinations I liked for the cake. (And now I have extras for other cards in complementary colors!)
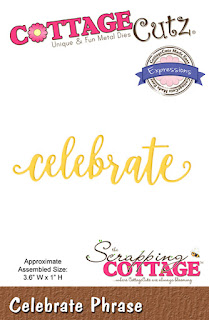
I also die cut the cake stand from silver cardstock and the word "Celebrate"from the navy.  I cut an A2 card base out of white, a strip 1 x 5 1/2 inches from the pattern paper and a strip 1 1/8 x 5 1/2 inches from the navy.  I also die cut two rectangles using the second largest die from the Nested Wacky Stitched rectangles - one white and one Bermuda Bay.
I then stamped confetti on the white die cut rectangle.

I used snail adhesive to attached the pattern paper over my navy strip and then glued it to the left side of the card.  I angled the Bermuda Bay panel on the card and glued the white panel on it but just a little offset to give a "shadow".
My final step was to add the cake, the sentiment and some sequins.

Dies used:
http://www.scrappingcottage.com/cottagecutzlayeredcakeandstand3x3.aspx
http://www.scrappingcottage.com/cottagecutznestedwackystitchedrectangleset.aspx
http://www.scrappingcottage.com/cottagecutzexpressionspluscelebratephrase.aspx

I hope you enjoyed my card today.  Thanks for stopping by and have a creative weekend!