Showing posts with label Happy Holidays Greeting. Show all posts

Wednesday, December 11, 2019

Happy Holidays

Hello!  This is Sukie and today I'm sharing this adorable Christmas card.  This sweet bird sitting on the snowy branch is the cutest!
The cardinal is from the Jolly Cardinal die set and inked with my Oxide Inks.  I cut out a circle from the Circle Set and a doily from the Nested Stitched Doily Set.  The sentiment is from the Happy Holidays die set which was adhered on a flag from the Retro Tag Toppers die set.
I went with a Christmas plaid background for my card base and layered in with the doily and circle cuts.
The cardinal was centered inside the layered doily.  I placed the first sentiment flag directly above the doily.
The second flag was added to the bottom edge of my card finishing off the curved sentiment design.
Here are the dies used on my card, available in the store:

Sunday, November 04, 2018

Husky and The Tree


Hi!

It's Anja here. Today I have a card with the new Dakota the Husky design. Such a cute die, only available in The Scrapping Cottage store. And I decided to combine it with the Christmas tree.


For this card I used:
- Cottage Cutz dies (Dakota The Husky, Handmade Twig Tree, Happy Holidays Greeting),
- Distress Inks (Pumice Stone, Black Soot, Pine Needles, Fired Brick, Spun Sugar, Vintage Photo, Walnut Stain, Tea Dye, Old Paper),
- white card base (15x15 cm),
- white card stock for die cuts and background (12,5x12,5 cm),
- patterned paper for the sentiment and background (14x14 cm),
- white and brown foam,
- black pen,
- paper glue.

First I cut and colored the lovely husky. I used black pen for the eyes and make up applicator for the chicks.


Then I cut and colored all the pieces for the tree.


I also used colored foam to cut the husky and the base of the tree and then later the greeting. I used the foam to add some dimension. I glued the colored husky and the tree to the foam.


Then I cut the paper for the background. I used white and patterned paper. Then I colored the edges with Distress Ink.


I cut the sentiment from the patterned paper. I again used Distress Ink around the edges. Then I glued the sentiment on the cut foam.


In the end I just glued everything on the card base and my card was finished.


You can find this lovely Dakota the Husky die in the store. Check it out.

I'm wishing you a lovely Sunday and see you again next week.

Anja Z.


Cottage Cutz dies I used:

http://www.scrappingcottage.com/cottagecutzdakotathehuskyexclusive.aspx

http://www.scrappingcottage.com/search.aspx?find=twig+tree

http://www.scrappingcottage.com/cottagecutzhappyholidaysgreetingelites.aspx

Monday, November 13, 2017

Happy Holidays

Hi, Scrapping Cottage fans!  
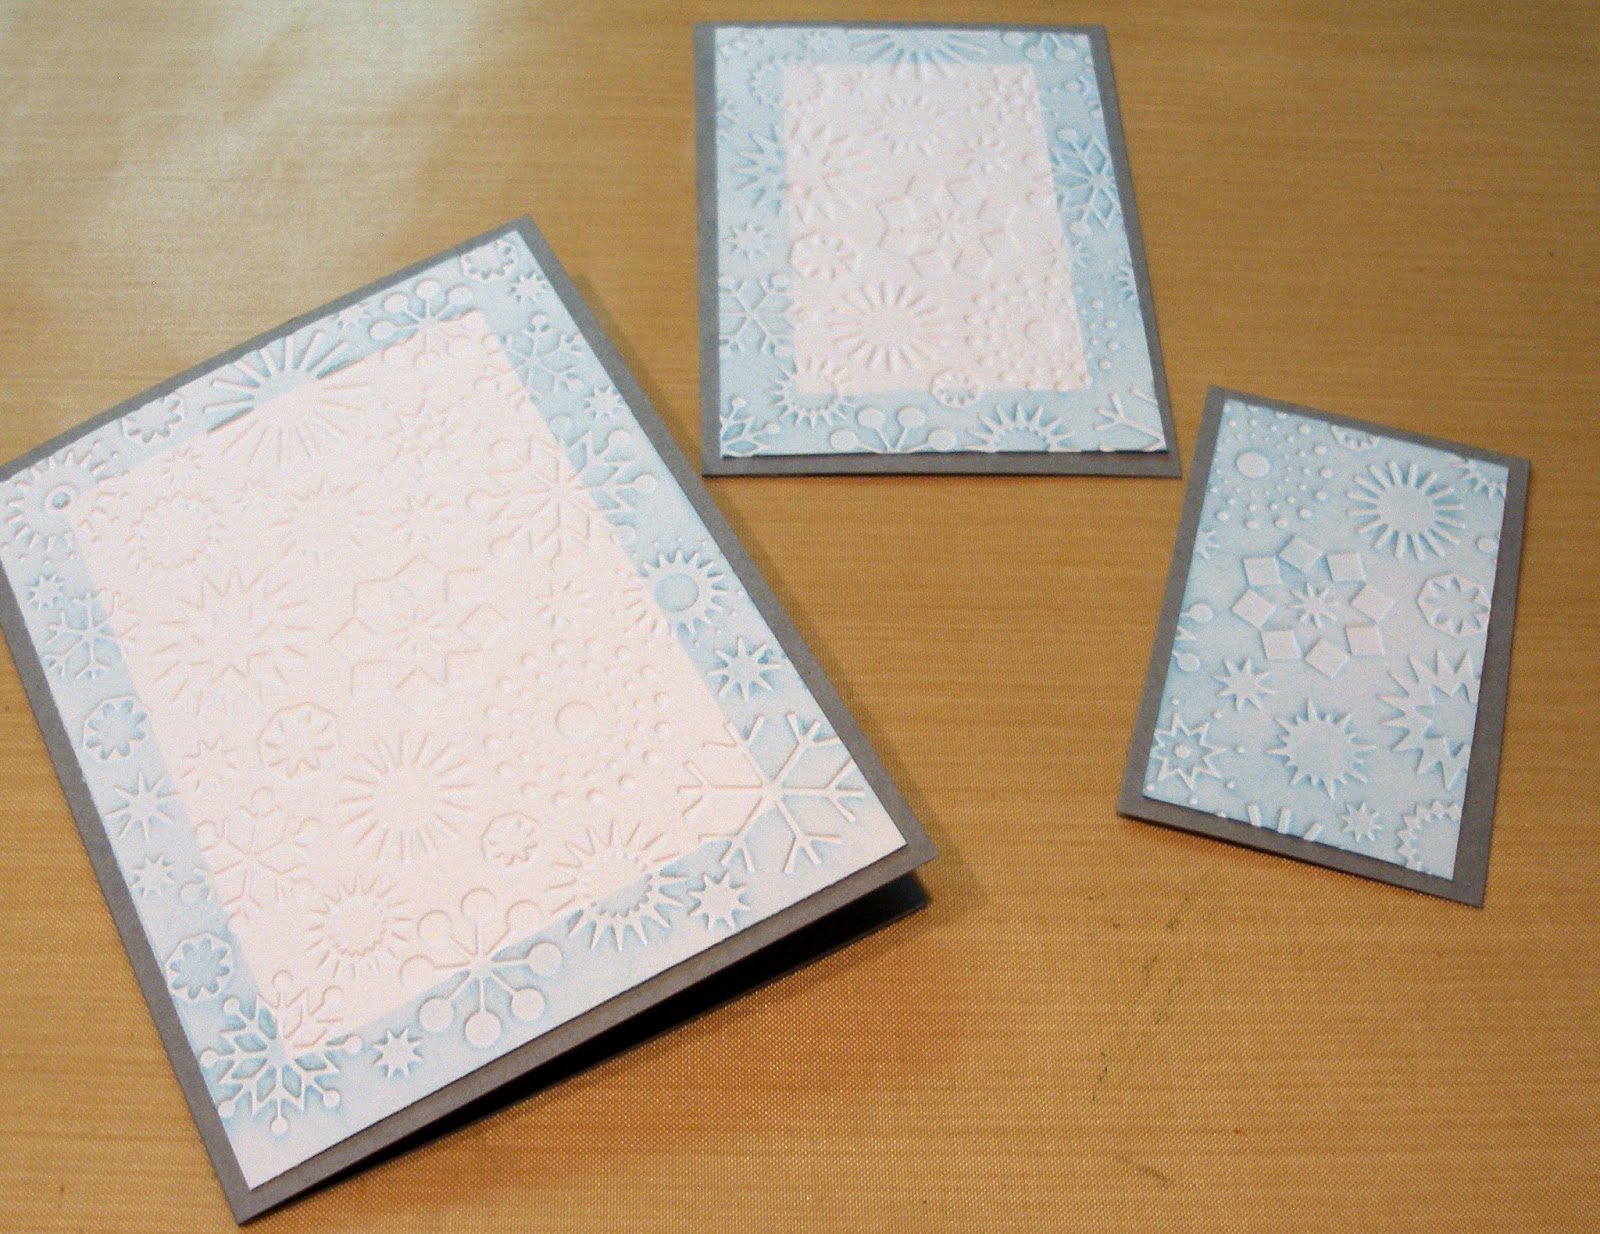
Lois here with a new-to-me technique.   I saw  a tutorial for a variation on the Triple Stamping Technique last week and wanted to give it a try.  I'm not sure what it's called, but it was rather interesting.  For lack of another name, I'll call it Triple Embossing.  (My apologies to whomever developed this technique for using what might not be the correct nomenclature.)  Here's my card:


To start my card, I cut several layers of cardstock:

Gray - 5 1/2" x 8 1/2" (scored at 4 1/4"), 3 1/4" x 4 1/2", 2 1/4" x 3 1/2"
White - 4" x 5 1/4", 3" x 4 1/4", 2" x 3 1/4"

Using repositionable tape, layer the white pieces of cardstock, centering each piece on top of the next larger one.  This stack of cardstock will be placed in an embossing folder.


I ran the embossing folder though my Cuttlebug, being careful not to move the various pieces.


I removed the embossed pieces of cardstock from the embossing folder; and, while the pieces were still adhered to each other, I lightly sponged ink across the top of them.   This brought out the pattern of the embossing quite nicely.


I then separated the panels and adhered them to the coordinating pieces of gray cardstock.


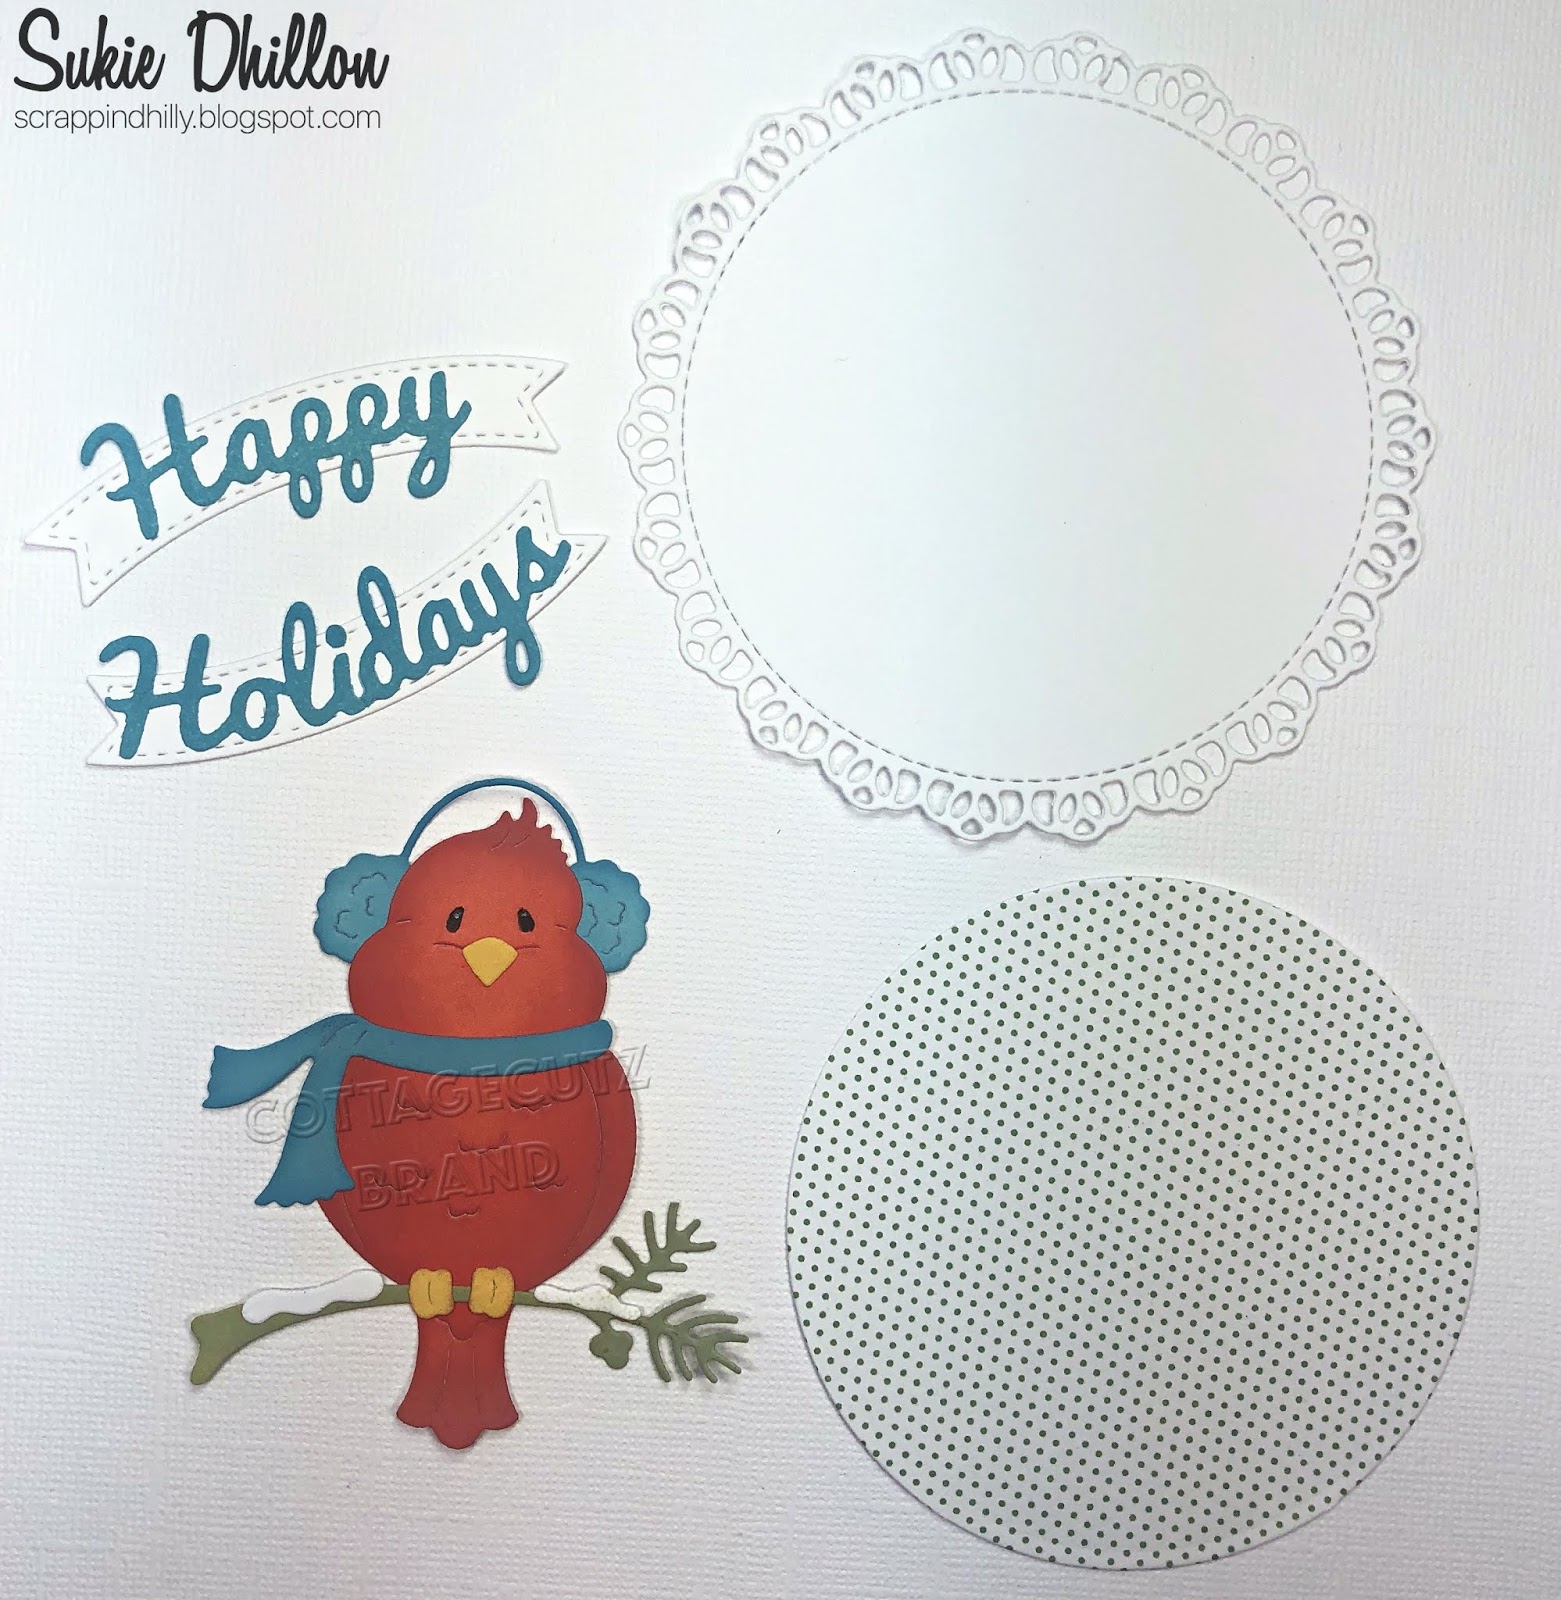
I didn't want to take away from the embossed/inked pattern on the panels, so I decided to add just a sentiment.  I cut the sentiment "Happy Holidays" from one of the new Christmas CottageCutz dies, Happy Holidays Greeting.


I layered the panels together (lining up the embossed areas), glued the die cuts to the center of my card, and I was finished.  You can see how the various snowflakes transverse the panels.  One of them (the large one on the far right) actually is on all three panels.


I really like the result achieved on my card and will definitely use this technique again.    The CottageCutz die used on this card is:

http://www.scrappingcottage.com/cottagecutzhappyholidaysgreetingelites.aspx