Showing posts with label Halloween Pup. Show all posts

Tuesday, July 17, 2018

Welcome to the neighborhood

Hi, Janja here!
As you know, in July, the design team of CottageCutz will show some fresh ideas with older dies.


- CottageCutz dies: Hallowen Pup, Forest Peekers, Holiday Gate With Wreath, Welcome
- white card base: 5.3 x 5.3" (13,5 x 13,5 cm), folded
- patterned paper: 5.03 x 5.03" (12,8 x 12,8 cm)
- kraft cardstock: 4.76 x 4.76" (12,1 x 12,1 cm)
- white and colored cardstock
- colored ink pads
- white and black pen
- double-sided adhesive tape, self-adhesive pads, glue

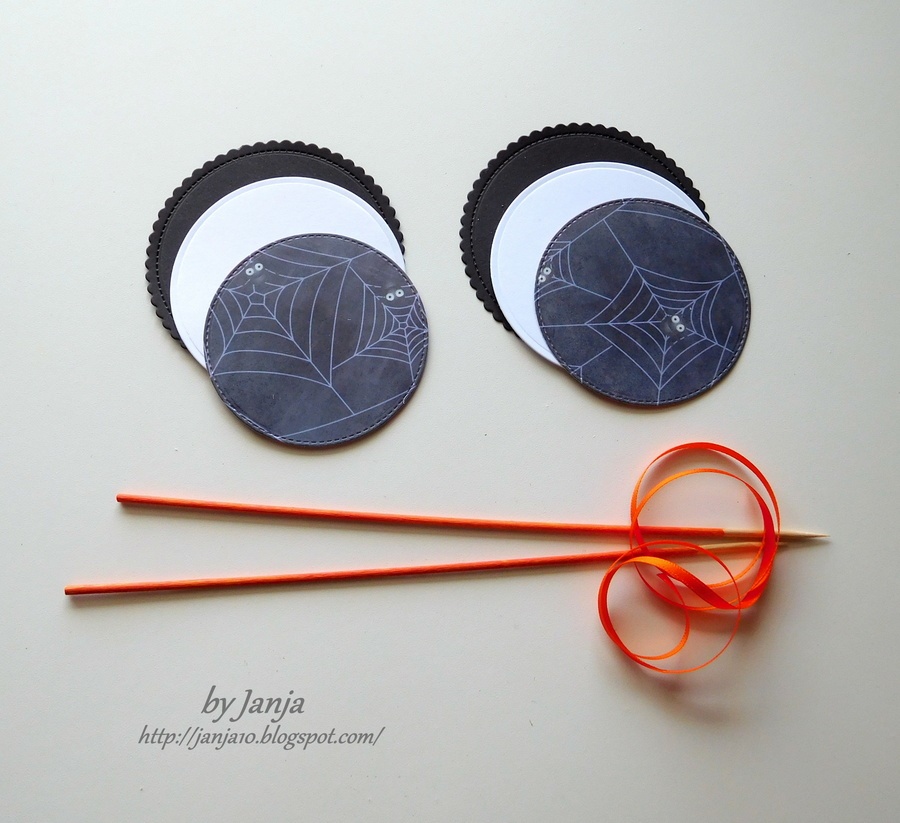
To begin, cut out all the parts we need for the gate and both dogs. The gate is later embossed.


Before assembling, add color on all the pieces. I used a gray and black ink pad, and for the eyes a black and white pen.


Prepare a white card base. Cut two slightly smaller squares from kraft cardstock and patterned paper.

Add "Welcome" cutout, and stamp the rest of the sentiment. Attach the main motif with adhesive pads on the background.


Thank you for coming over. See you again tomorrow. 


Tuesday, September 26, 2017

Happy Halloween

Hi, Janja here!
Today, I share with you some ideas for Halloween. I made my creations with some of the recently released CottageCutz Halloween dies.


Supplies:
- CottageCutz dies: Spooky Cake, Spooky Cupcakes 1, Frankenstein & Ghost Owls, Halloween Pup, Circle Set (7th die from the center), Stitched Circle Set (6th die), Nested Stitched Scallop Circle Set (4th die), Cross-Stitched Square Set
- white scallop edge card base: 5.3 x 5.3" (13,5 x 13,5 cm), folded
- black cardstock: 4.9 x 4.9" (12,4 x 12,4 cm), and 3.3 x 3.3" (8,4 x 8,4 cm)
- patterned paper: 4.7 x 4.7" (12 x 12 cm)
- white and colored cardstock
- washi tape
- pumpkin orange satin ribbon
- orange acrylic paint
- barbecue sticks
- glue, self-adhesive pads, double-sided adhesive tape
- Distress inks: Hickory Smoke, Vintage Photo, Walnut Stain, Twiste Citron, Worn Lipstick, Spiced Marmalade
- Memento inks: Dandelion, Tangelo, Bamboo Leaves, Sweet Plum

To begin, cut out individual pieces of colored cardstock. Color all pieces on the edges with Distress and Memento inks, and put them together.


Trim selected patterned paper and black cardstock with a paper trimmer. For a white cardstock, use the largest die from Cross-Stitched Square Set.
Since the washi tape is less visible on the dark background, attach it to a white strip of paper.


Now it's time to get the card together. Paste both main motives with self-adhesive pads on the prepared background as shown.
At the end, I embellished the card and paper lollipops with a clear Wink of Stella brush pen.


Paste cupcakes to paper lollipops, which can be used for decoration.
Kids will be delighted with Halloween lollipops, especially if we add some candy.


Color sticks with acrylic paint and paste them on the cardstock. At the end, tie a ribbon.


I really hope you enjoyed my project today. 
Thank you for coming over and have a nice day. 


Saturday, September 09, 2017

Puppy Trick or Treat

Hello Scrapping Cottage friends! Thanks for taking the time to stop and visit today. It's Mary Marsh here bringing you the Saturday edition of the Blog.

Well we are into the 9th day of September. I hope you have made a smooth transition from the hot, humid summer months. Our temperatures have cooled off somewhat rapidly here in Pittsburgh. So fall is coming- maybe a bit sooner than we want (LOL)! With fall comes thoughts of harvest time, pumpkins, hay rides and of course Halloween.

CottageCutz has a new release of Halloween & Christmas dies coming on September 20th. Online ordering is not available right now because of a move to a larger warehouse. But, the DT will be giving you sneak peeks of what's coming until then.

My card today is using some of the new dies: Halloween Pup, Halloween Phrases & More and Halloween Candy Jar. So let's get started with some details on how I created my card.

Step 1: This week I started my card with my layout. Splitcoaststampers had a good one posted for their Wednesday Sketch Challenge #661. I thought it would work great as my card layout. A layout always helps me to jump start my creativity.
Step 2: I looked through my cardstock and patterned papers to see what colors would work best for a fall card. I chose a pumpkin, olive green and purple for the main card colors. I decided to use the patterned paper for the larger part of the background (#2 in above sketch). Embossed the solid colored cardstock with a pumpkin embossing folder.
Background measurements:
patterned paper: 2 1/2" x 5 3/8"
Embossed Pumpkin Cardstock: 1 3/4" x 5 3/8"
I didn't want a seam showing, so I used some ribbon that matched the puppy's hat and my trick or treat words  to cover the seam and also as an accent piece.
Step 3: Time to start the die cutting. I decided to use more bright festive colors for the puppy's hat. He is such a little cutie and I wanted that carried over with the hat as well as the rest of the card. I believe I accomplished that look.
The trick or treat word I wanted placed in the circle element of the sketch. I used the 4th largest die in the CottageCutz circle set. It's approximately 2 1/2" round. This size was a perfect fit.
Step 4: I am ready to start assembly of my card parts. I cut a rectangle (#3) on the sketch. I layered that over a purple panel. It defined the panel a little more. Used the largest pierced rectangle die.
I added a few pumpkin enamel dots on this panel and a spider to the circle panel. The spider is from the new Halloween Candy Jar set. Layered  onto a white cardstock base (4 1/4" x 5 1/2") and my card is complete.
I hope I have given you some inspiration for a cute Halloween card. Remember all the dies will be available on September 20th. So there will be plenty of time to get cards made for Halloween giving.

A couple of our Design Team members are in the path of Hurricane Irma. Sending thoughts and prayers their way for safety and protection. I will see you next Saturday.

Dies I used to create card:

 
http://www.scrappingcottage.com/cottagecutzpiercedrectanglesetbasics.aspx
http://www.scrappingcottage.com/cottagecutzcirclesetbasics.aspx