Showing posts with label CottageCutz Holiday Wreath (Elites). Show all posts

Monday, November 21, 2016

Christmas Wreath and Greetings


Hello everyone !!!
It's Anita here.
I hope you all had a super exciting weekend. Black Friday is just around the corner and everyone is geared up for the super sale.
We , at CottageCutz have an amazing array of dies for wonderful Christmas Craft.You can check them out here and here.

I have a pretty traditional Christmas card with Greetings and Wreath .
Check it out here.


The finished card measures 7" by 5".
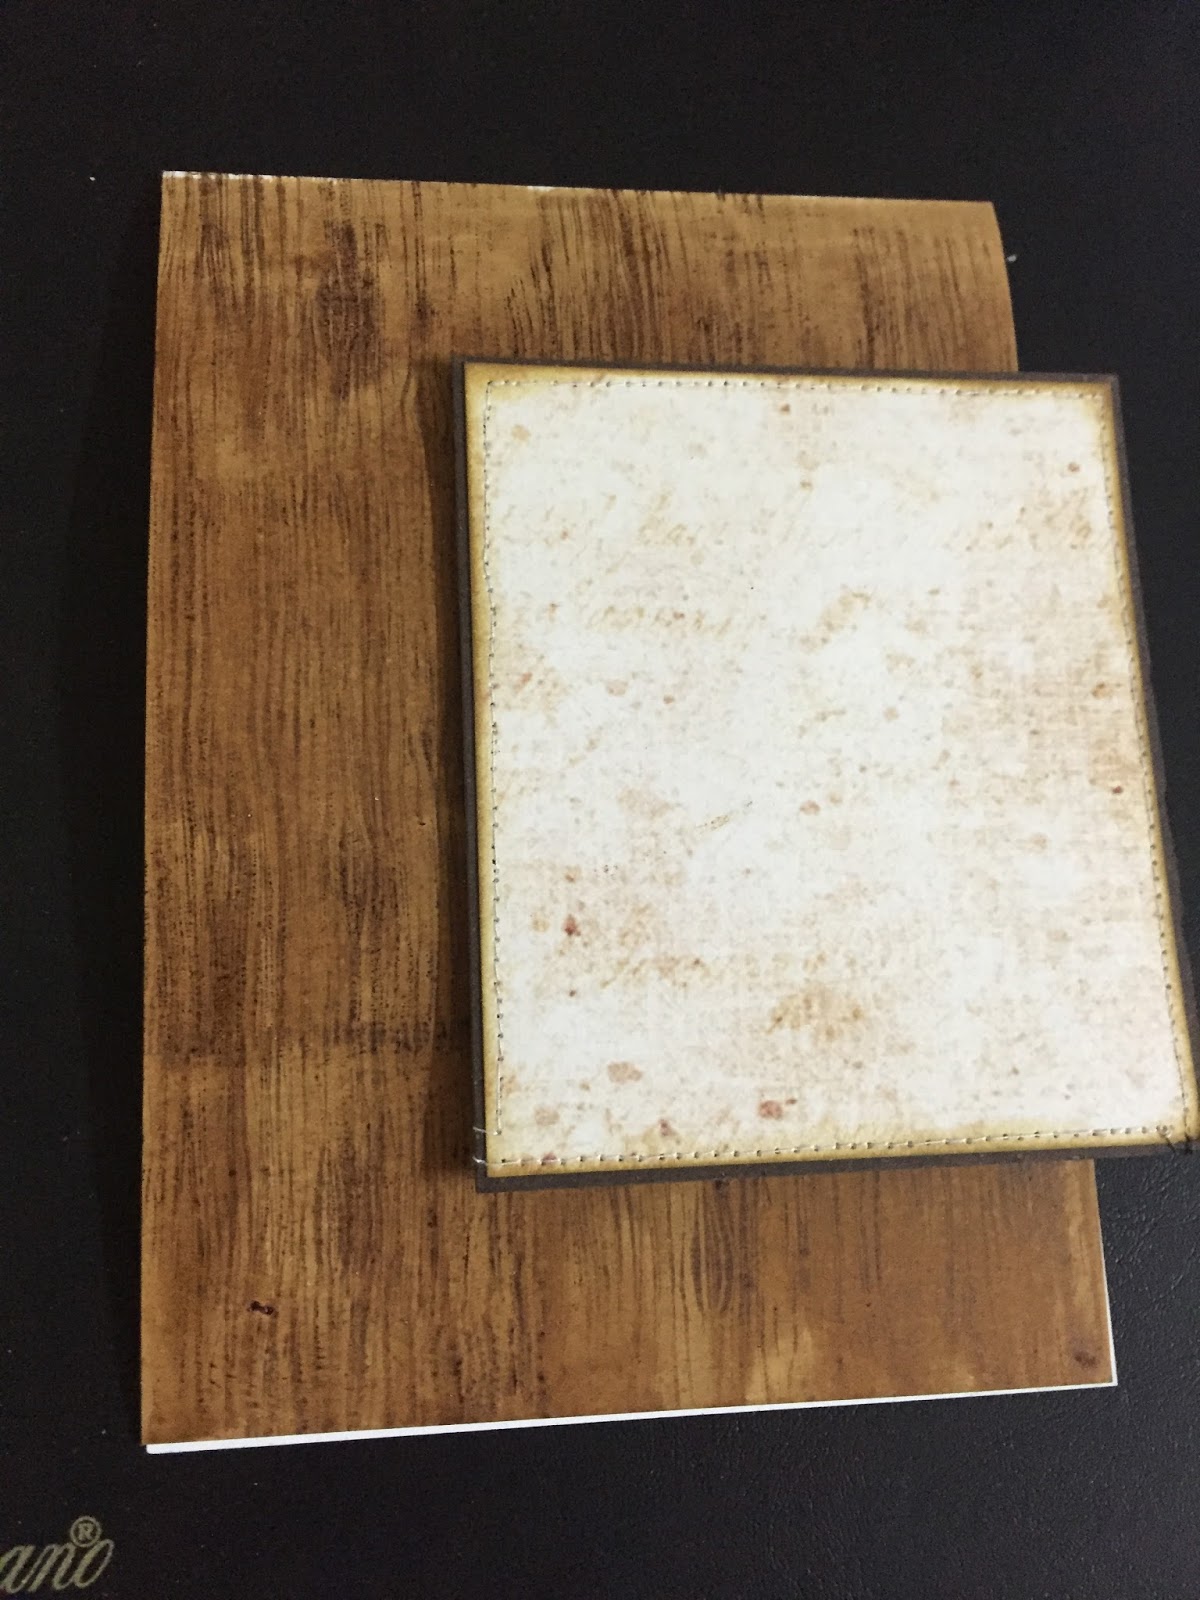
1.On the red card base, adhere a plaid pattern paper measuring 4" by 6" with 3d foam tape. Cut the corners with Crop a dile.
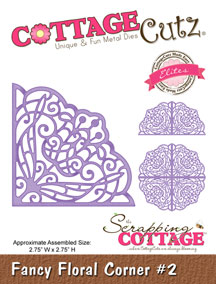
2. Then cut out the 4 die cuts in white card stock with CottageCutz Fancy Floral Corner #2 and paste the sides together to form a doily. Adhere the doily to the centre of the pattern paper.
3. Wrap a brown twine 7-8 times around a circle and adhere on the card front. This forms the base for the wreath.
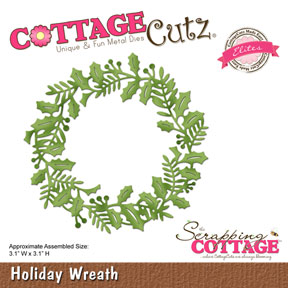
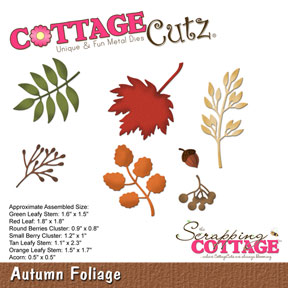
4. Cut die cuts in green card stock from CottageCutz Holiday Wreath and arrange on the twine. Add a few berries cut from red paper from CottageCutz Autumn Foliage . Add a few red blings here and there.
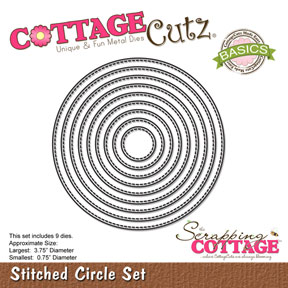
5. Cut a die cut from CottageCutz Stitched Circle set and stamp the Christmas sentiment. Adhere in the center of wreath.
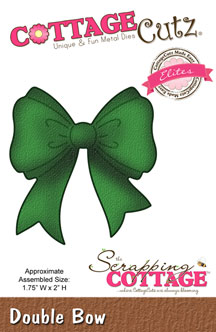
6. Add a bow cut from CottageCutz Double Bow.

Products used.


Do leave your comments and feedback. I love reading them.


Saturday, September 03, 2016

HANGING CHRISTMAS BELLS

Hello to all !!!! Anita here !

The Christmas magic is in the air. It is very much evident from the loads of cards all around us with Christmas theme. CottageCutz has released fabulous dies for this season and one can create simple to heavy layered cards with these. You can check them out here and here. I am sure you will fall in love with theme.

I have a Christmas card with hanging bells.


  Here are the steps for creating this card


Apply Distress ink Brushed Corduroy on a card stock measuring 7inches x 5 inches


Stamp on this with Walnut Stain distress ink


Add a second mat layer mounted on brown card stock 4.5inches x 4.5 inches.Stitch around the edges.


 Colour all the die cuts with Zig brush pens. You can use any colouring medium.


 Adhere the die cuts in layers like this. Tear the edge on the left side and distress with Mowed Lawn.


Adhere on a card ctock 7.5inches x 5.5 inches. Add sentiment on the left edge.

CottageCutz dies used.


Do share with us what you create. Happy Crafting to all.


Sunday, August 28, 2016

Festive vintage envelope

Hello friends!
Thanks for taking the time to stop and visit today. This is Yuliya here). It's here share some of the new Christmas release with you!
And I will be sharing how to make this Festive vintage envelope  using the CottageCutz dies.

Here is list of all supplies I usedCottageCutz Dies:
-- CottageCutz Cross-Stitched Circle Set (Basics)
Other: Sizzix machine, glue, patterned paper, cardstock, glossy accents, ribbon


Follow the pictures below for making this card step-by step
1. Size my cardstock - 28 cm * 20 cm. Fold it : 9 cm - 10 cm - 9 cm. And size my envelope - 20 cm*10 cm. 
2. Glue tape
3. Prepare patterned paper for base: 9,6 cm* 19,6 cm (2 pc), 8,6 cm*19,6 cm (4pc)

4. Glue details


Ok!) Easy and simple!


I hope you like it. Have fun creating. And don't forget, fifth CottageCutz challenge is waiting for you. This time theme is BIRTHDAY CARD. You can linked your project here. And please, use only Scrapping Cottage dies.