Hi, Janja here!
For today's post, I prepared another children's card. This time for the boys.
Let's see how it is made.
Supplies:
- CottageCutz dies: Choo Choo Train, Toy Helicopter mini, Snowcapped Mountains
- white card base: 6 x 4.5" (15 x 11,5 cm), folded
- gray cardstock: 5.5 x 4.2" (14 x 10,7 cm)
- white cardstock: 5.2 x 4" (13,3 x 10,1 cm)
- white and colored cardstock
- Distress inks: Broken China, Twisted Citron, Vintage Photo, Hickory Smoke
- stencil and stencil brushes
Cut out all the elements for train and helicopter. Distress them on the edges with Distress inks, and glue together.
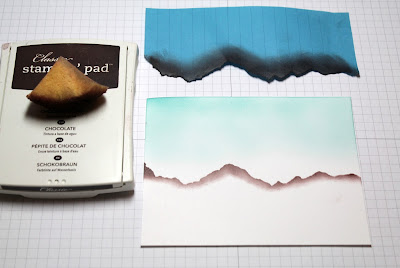
Trim white cardstock for background. At the bottom, create mounds with stencil, Vintage Photo Distress ink and brush. Color the rest of cardstock with Distress inks Twisted Citron and Broken China.
Cut out also mountains, and cover peaks with snow.
Assemble the card.
Thank you for coming over and have a nice day.


